What if we say that you don’t need to empty your pockets on fancy salons and get your gel nail at home? Yes, DIY gel nails are just a few steps away.
#1 Arrange All The Tools
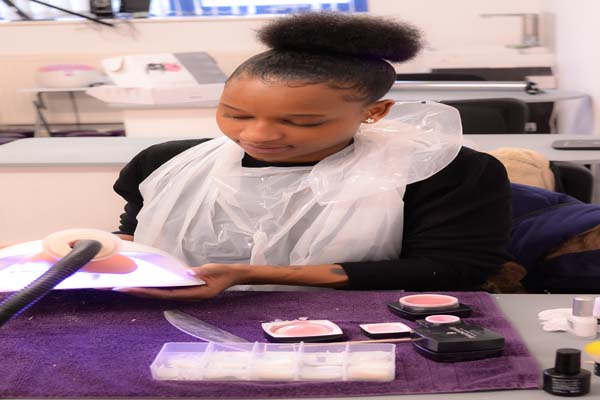
Tools are the main ingredients to start prepping your gel nails. To get those professional DIY gel nails, you will need some essential tools. LED lamps are the first things to arrange. You will also need a manicure kit that comprises all the vital items. Next, you will need gel polish to paint your nails.
#2 Prep Your Nails
For prepping your nails, begin with cleaning your cuticles and get a smooth finish. You also need a cuticle pusher to push and trim your cuticles. Don’t go extra on pushing that can lead to bleeding. Remove all the debris and apply some oil.
#3 Apply the Gel
Now comes the most important step of applying the gel. Ensure the oil is completely absorbed; even a little oil on nails won’t allow the gel to be properly set. You don’t have to make any effort; just let the gel spread across the nail. Let it dry and then file properly to give a shape.
#4 Paint It
Last but not least, paint your nail with beautiful gel polish and put your fingers under the LED lamp. Voila, there you go, professionally done gel nails at home.
That’s all you need to do to get those beguiling gel nails at home. So, get your tools and create those magnificent nails.
CPBA offers free employment advice and guidance to their gel nail learners. We also offer free gel nail and nail art courses and funded level 3 nail courses with work placements.